Thanks for the replys!
Ken,
We're undecided if I'll tackle the steps (might just replace the carpet). But, I don't have an option on the top step (level with the floor).
I did read the section on doing steps several times over the last couple of months, but somehow I just missed that it should start from the bottom. Doh.
Floorguy,
You're dead on!!!!
I just didn't plan right. I'll not forget that next time. The leading wall was so out of square, and the door frame is actually curved, that I got hung up on starting there!
I have a couple of jars of color-matched putty, they seem close, but there is huge color and grain variation in the product (Kempas).
Thanks for your directions, they are very clear. Makes sense, but I am left with one question.
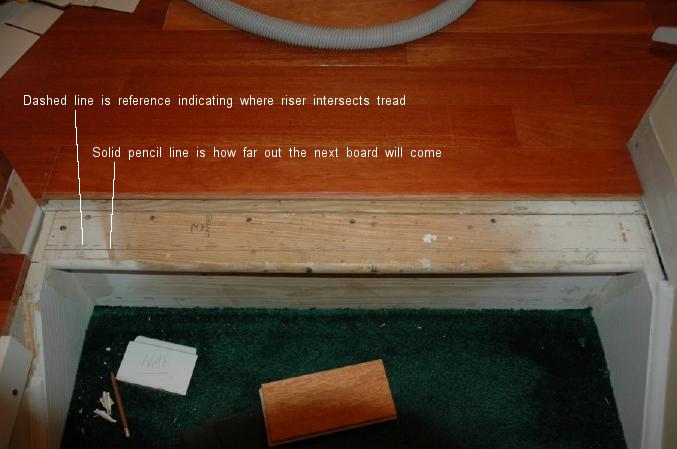
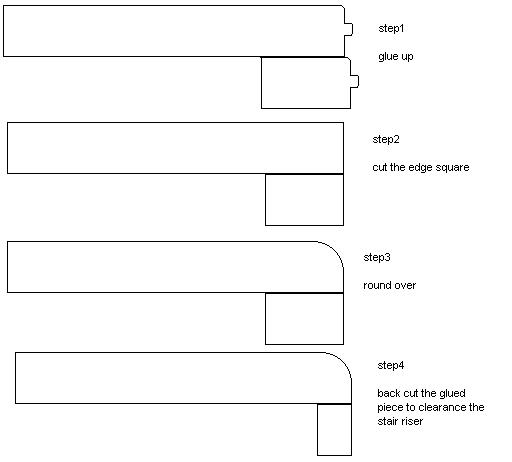
When I cut back the bullnose to make a 90º, do I just cut back the bullnose (about 9/16" of an inch) --- or should I cut it back so that the squared edge that I am creating is flush with the existing riser (about 1-5/16")?
I'm thinking that based on your instructions, I have to cut it flush, but I'm a little bit concerned that I'll be screwing with the rise/run ratio of the stairs. Am I just a worry-wart?
All of the information that all of you post (and posted in the old board) gave me the confidence and armed me with the information to feel comfortable tackling this job. It's very satisfying, and I owe a lot to the information posted here.
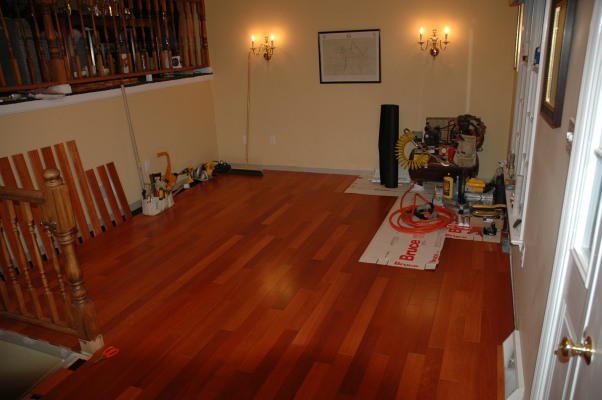
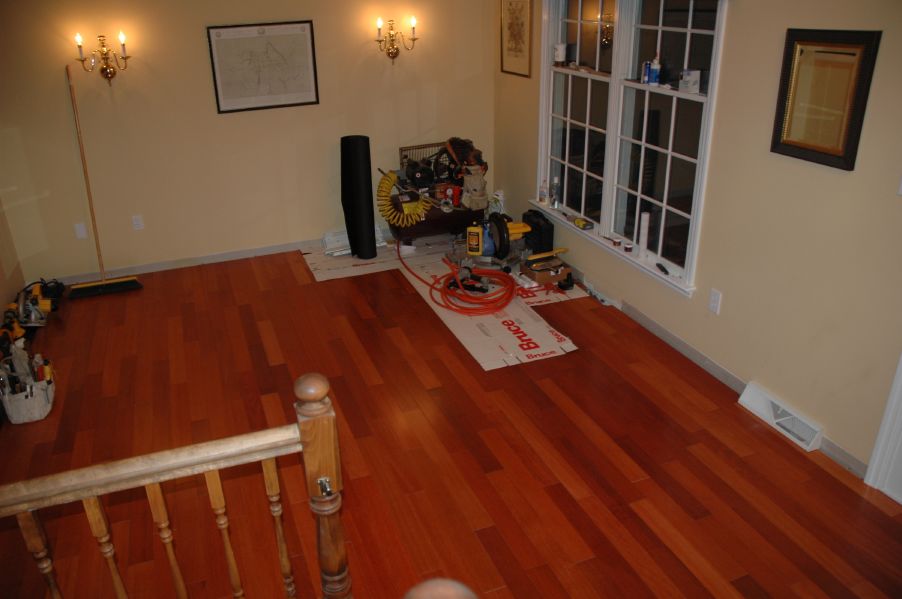
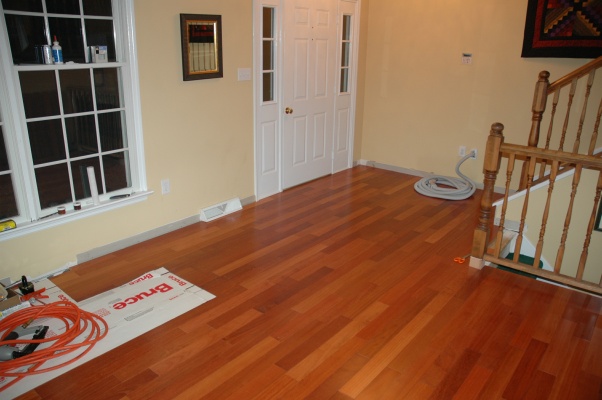
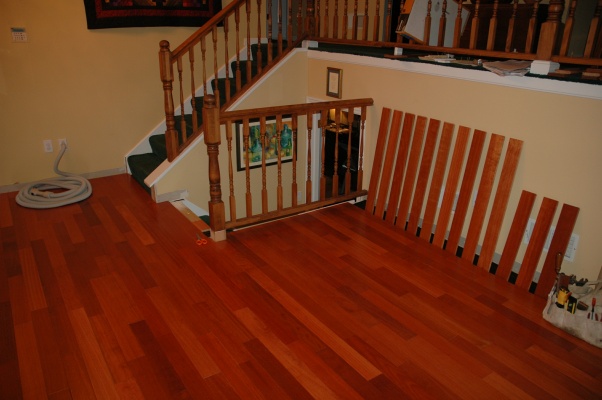
Here's a couple pics of the job so far. I need to install the last row and a half, get this top step issue handled and install new base. Then I get to move our furniture back in!
Thanks again!

[/img][/quote]